Total Pageviews

Saturday 19 April 2014

Speaker Pt 6

Here are some renders of my final image


Speaker Pt 5

Once I had the scene set I imported the arm and included a shirt and ring on his finger to give it more life.
From there I created the animation in Maya, which included moving the arm and camera. Once the keys were set I rendered and exported the animation, which I then altered in Photoshop.

before Photoshop

after Photoshop, which includes altered brightness and blurred shadows.

At first I was happy with how I tweaked the scenes, but once in the video I realised how yellow it was. I wanted to the scene to feel warm and bright yellow walls were not right. So after more manipulation on both Photoshop and after effects, I ended up with this:


Friday 18 April 2014

Speaker Pt 4

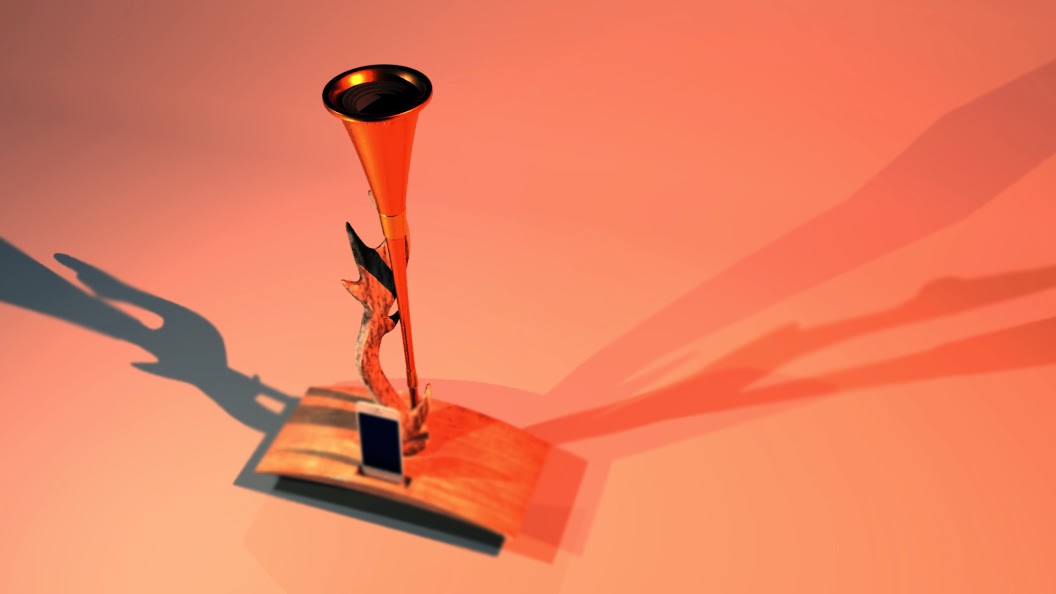
For the next part I started on the final trumpet and the composition of the scene. I wanted to set the speaker in a house environment that is a mixture of warmth from wood yet still be contemporary.

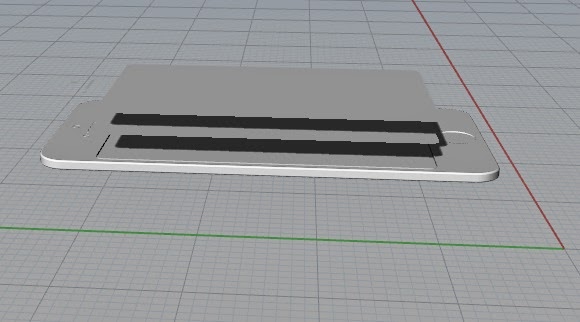
Initial renders of the speaker and iPhone

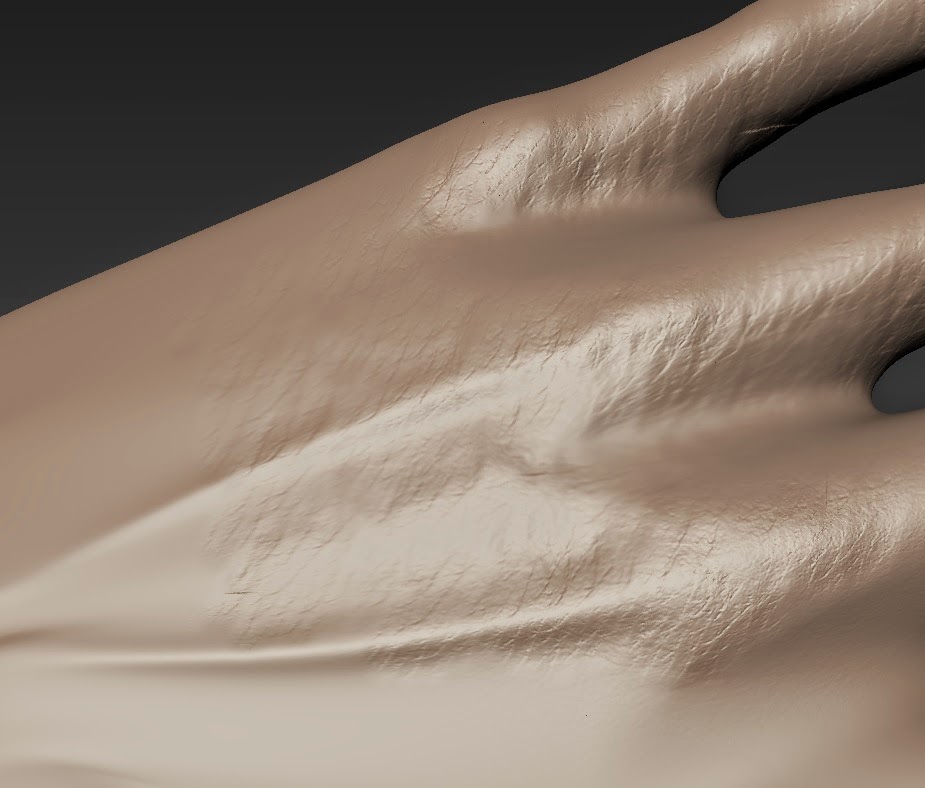
I used various normal and bump maps to create the texture and look of brass, horn and highly polished wood.

The set the scene a bit more I also included lights and a screen on the phone.

First try at setting the scene. The wood doesn't look realistic and the wallpaper is too busy.

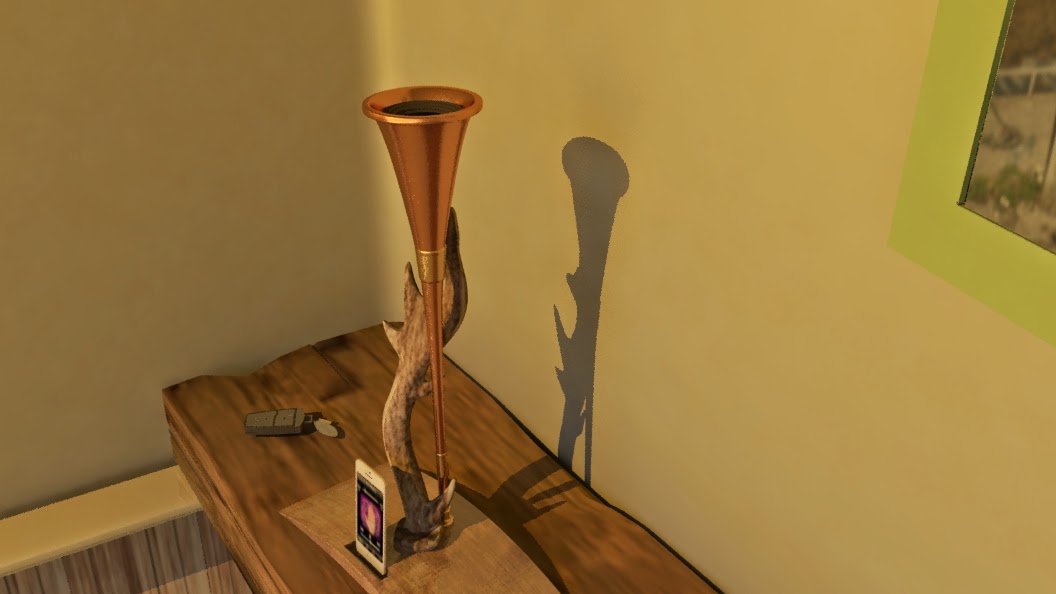
I worked on the wooden shelf, it now looking more as how it should.

I next decided to turn my attention to the lighting, I found the original lighting too dark and red. I used the sun light setting on Maya to give the scene a more gentle look.

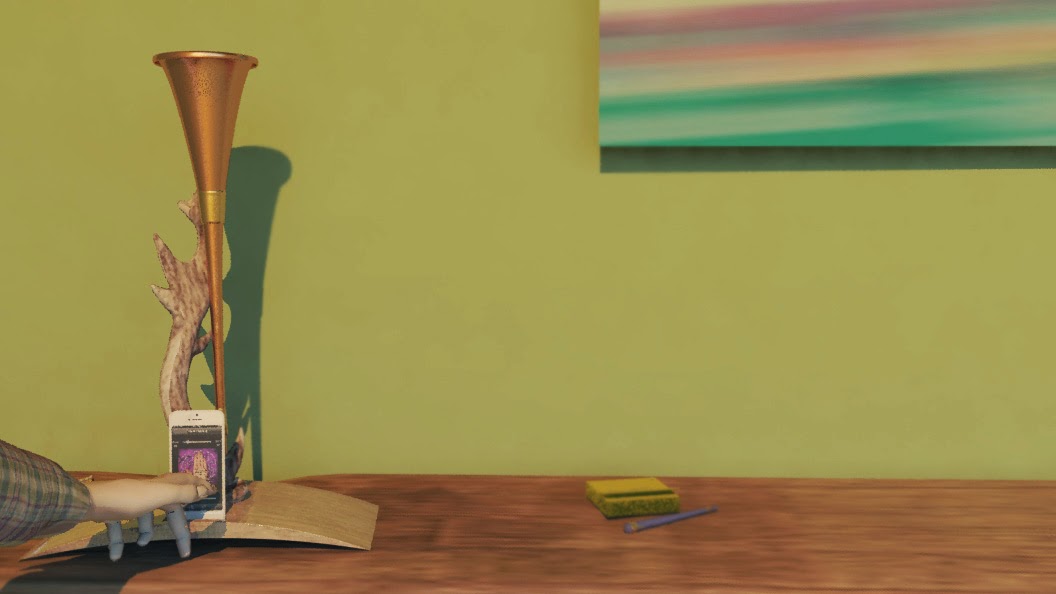
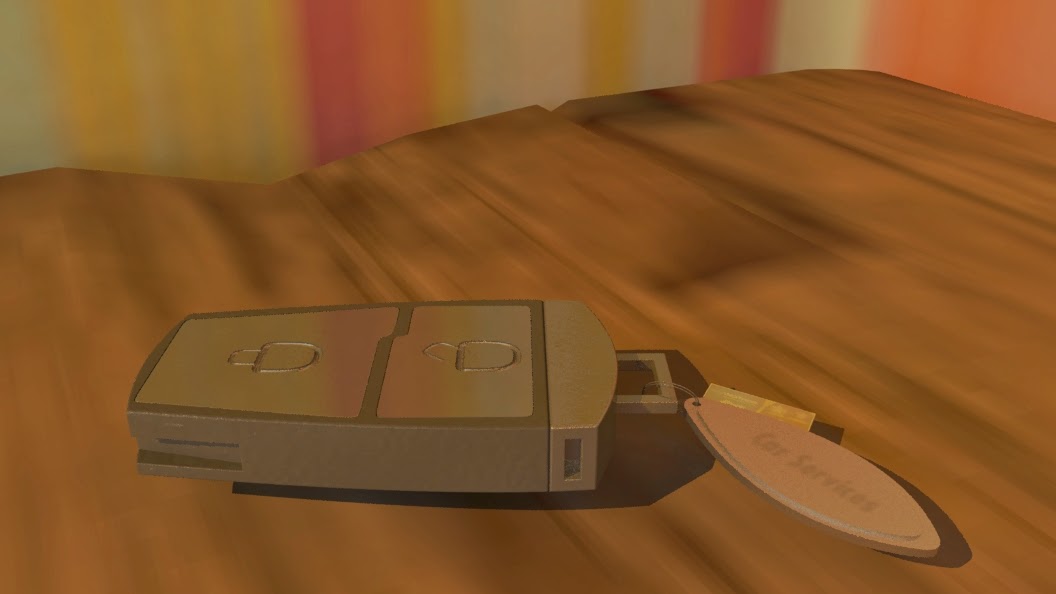
Wanting to make the scene feel more 'lived in', I started to create a few bits and bobs often thrown onto a shelf or table, these include keys, papers and pens.

Here I find the walls too bland.

I am now happy with the 'messiness' created on the shelf.

Final rendering before I turn to the animation. I wanted to draw your eye across the scene and pick up on the little details until you finally arrive at the speaker.


Thursday 17 April 2014

Speaker pt 3

Here is my model of an iPhone. I ensured that there were several seperate layers for me to render later. The phone itself, the speakers and button, the screen and then the glass.


Speaker pt 2

Next I moved onto modelling a hand which will be featured in my animation.

I started off by making a box hand in Maya to get the basic shape.

I tweaked and smoothed out the hand until I had a result I was happy with.

I then dropped it into Mudbox.

My first step was to bump up the divisions until around level 7, giving me a better starting point.

I used several different techniques to add pores and wrinkles onto the hand before creating a normal map and going back to Maya.

Once back in Maya I added the texture and a colour map onto the model, giving a slightly more realistic look. I hope later to possibly add fine hair and further details, including a sleeve to improve the overall look.

From there I set up a basic rig in the hand in order for me to better manipulate it when it comes to animating.

This was the final look of my first render.

Speaker pt1

Here are three versions of my trumpet and horn speaker, each with a different base. Trumpet made on Rhino, the horn on 3D coat and the bases were all on a mixture of Rhino and 3D coat. The idea is all three bases are made from wood, but the bases in image 1 and 3 would be highly polished, where image 2 is a piece of tree with bark.
After looking at these I think it would best to go with the first image as the base gives it a modern and cleaner look, unlike the others.
   

Tuesday 25 March 2014